
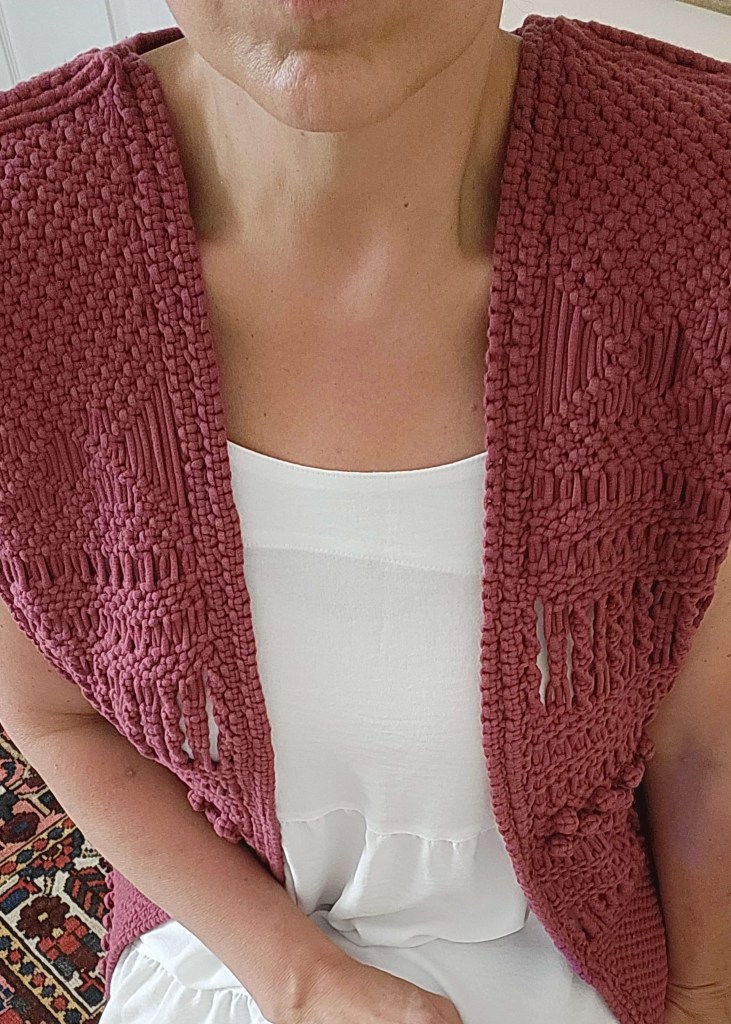
Some projects begin on a whim—just because a material sparks something in us. That’s exactly how this vest came to life.
As soon as I touched this thread—a 2 mm cotton/acrylic blend usually meant for crochet—I was in love. It was light, soft, with a nice bounce and a bold “marmalade” shade. I couldn’t resist.
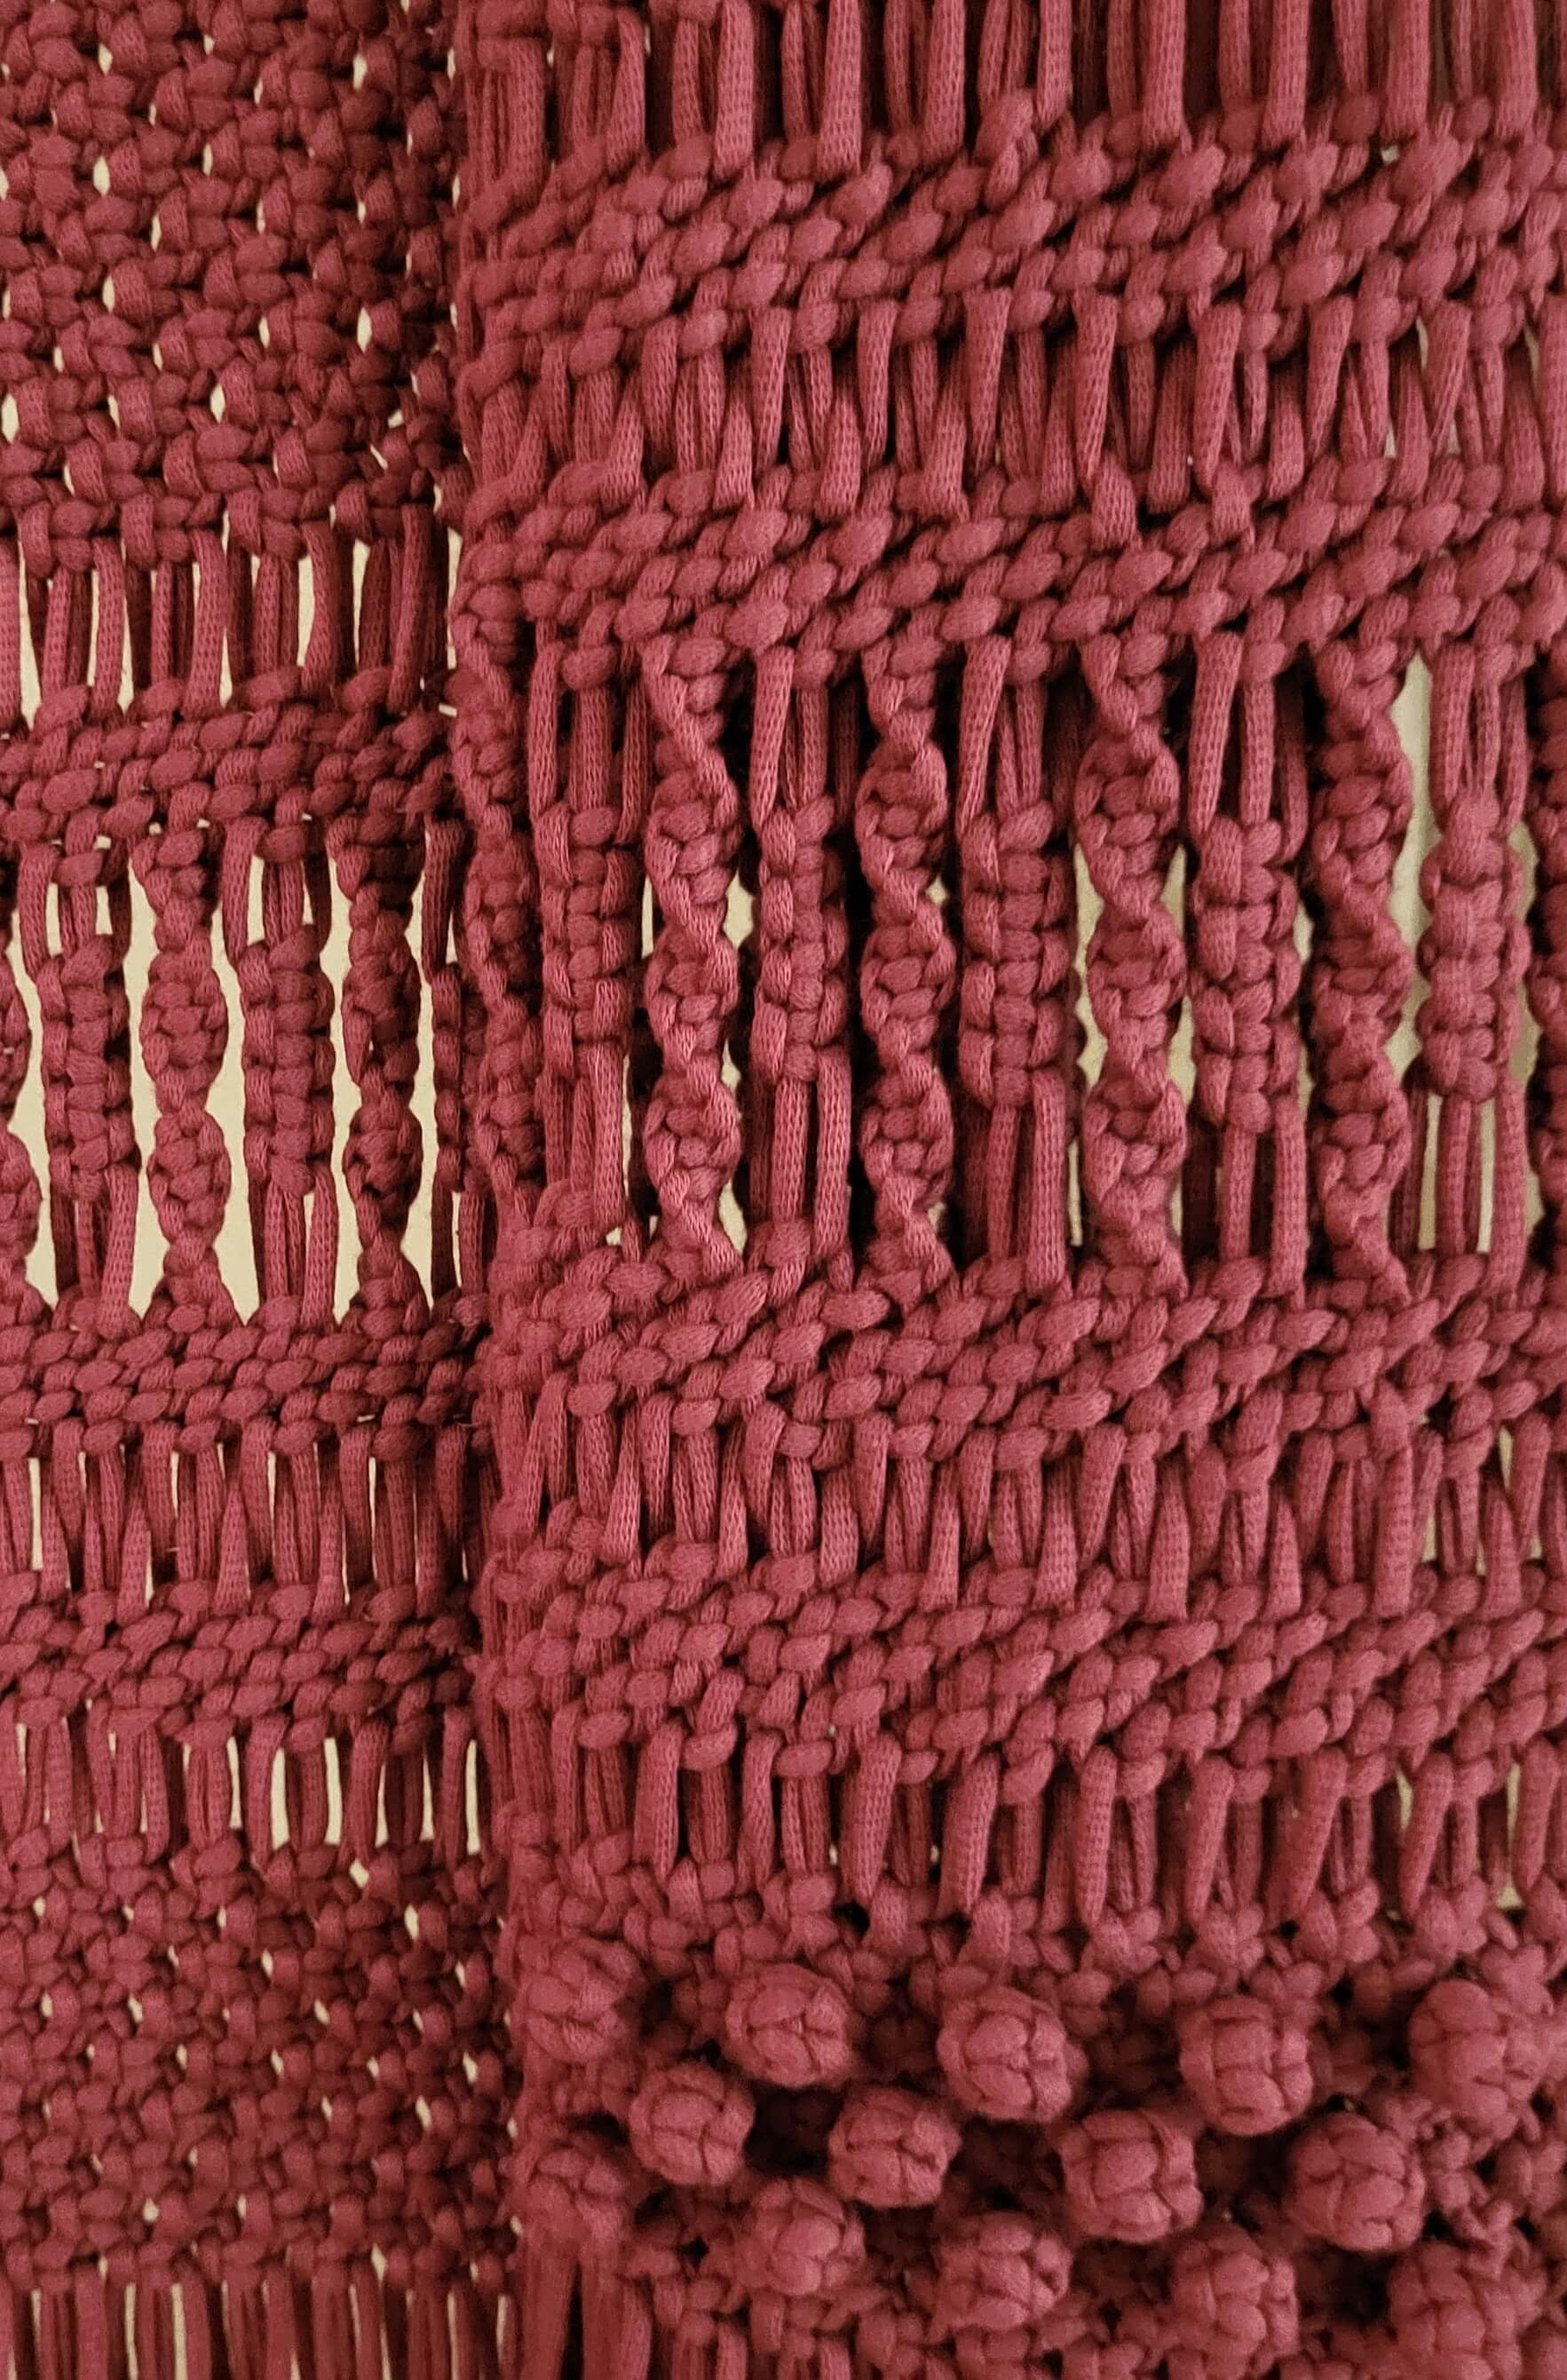
Of course, this kind of thread isn’t designed for macramé. It’s very flexible, slightly stretchy, and doesn’t forgive uneven tension. But that’s exactly what pushed me to slow down and fully focus on every move. This project forced me to break free from habit, observe closely, adjust constantly, and experiment. And thanks to that extra care, I was able to really play with textures. I won’t lie—the process took time.
I started around May 20th and finished just in time for summer. But I’m proud of the result. This vest taught me so much, and I’d love to share what I’ve learned from this unconventional thread—from technical adjustments and mistakes to avoid, to little discoveries I’ll definitely keep using.
Challenges… and How I Could Improve
The Design
I had a rough idea in mind. I made a quick sketch, wrote down a few thoughts, and took basic measurements: shoulder width, desired height, and the placements for the armholes and neckline.
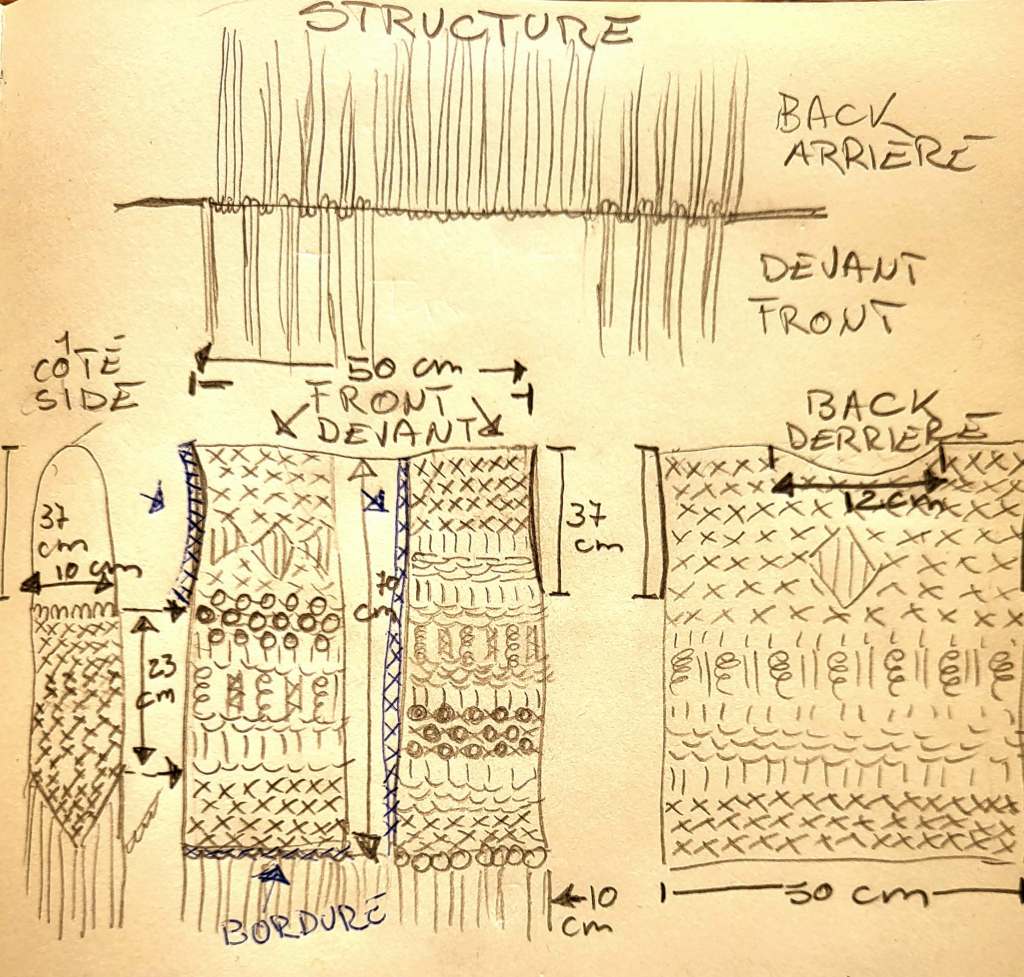
I calculated cord lengths using traditional methods (I explain more in my blog post: « Master the Perfect Cord Length for Stunning Macrame Projects » ), and then I dove in.
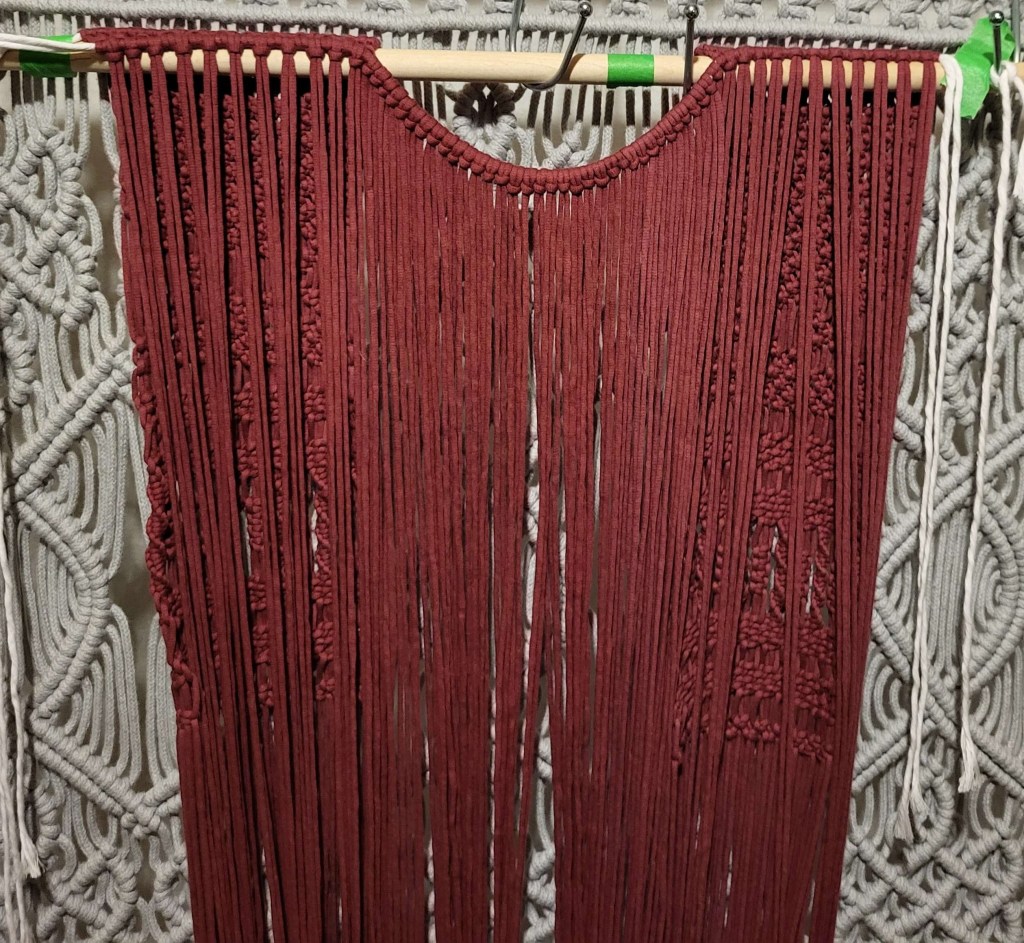
My plan was to mount the cords onto a horizontal string to create two front sections and a single back section. Once I reached the armholes, I would add cords to form the sides and connect front to back. It’s a fairly common method for this kind of piece.
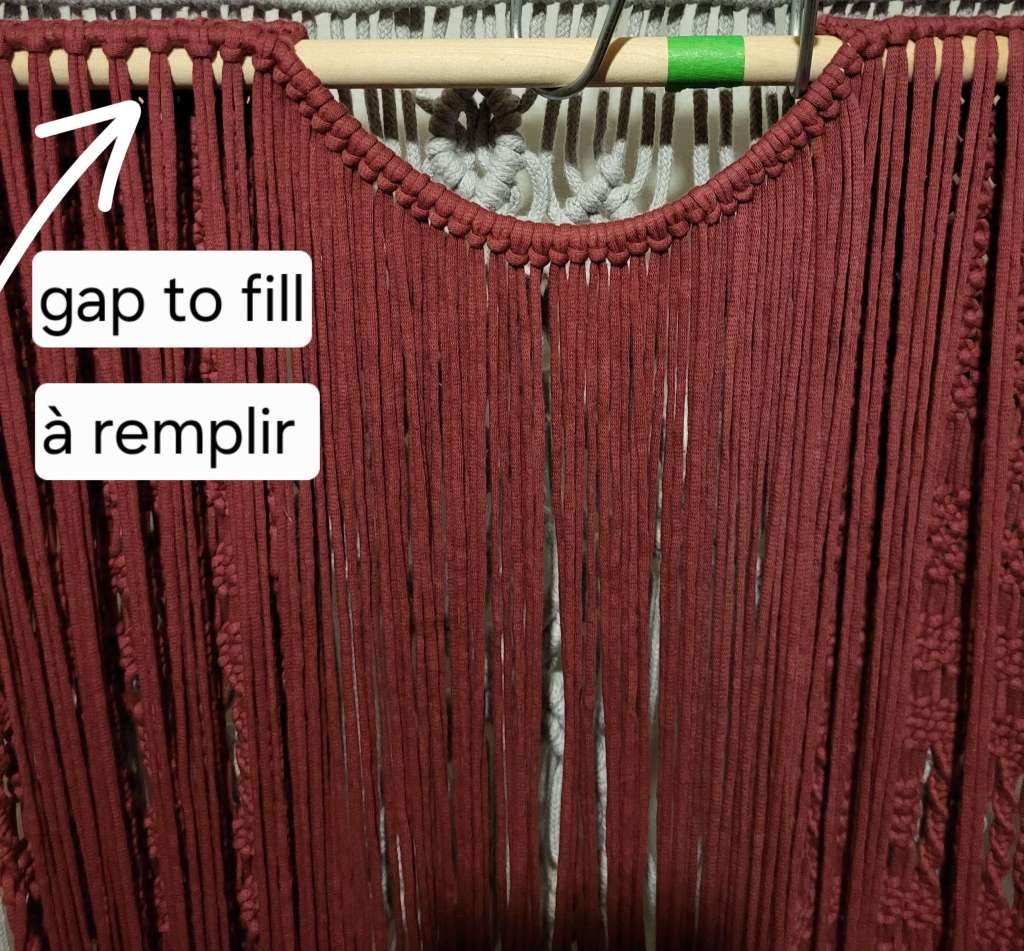
What I hadn’t planned for was how such a fine thread, with spacing between each strand, wouldn’t fill the area evenly without distortion. I had to add cords to fill in the gaps.

Then I followed the flow for the first front section. I knotted… and unknotted… multiple times. The double half hitch knots gave me a hard time: the soft, fine thread didn’t give the structure I wanted—unless I used a stiffer, thicker filler cord. That little trick gave me a solid base, but I ended up skipping the double half hitches in the rest of the pattern to maintain the lightness of the vest, which was one of my main goals.


Next came the second front panel, and then I tackled the back. I wanted it to echo the front design without being identical—same idea for the sides.
Finally, I prepared and stitched the edges.
The Challenges
When it came time to sew the borders, I realized it was much harder in the areas where the pattern was more open.
What I could have done differently:
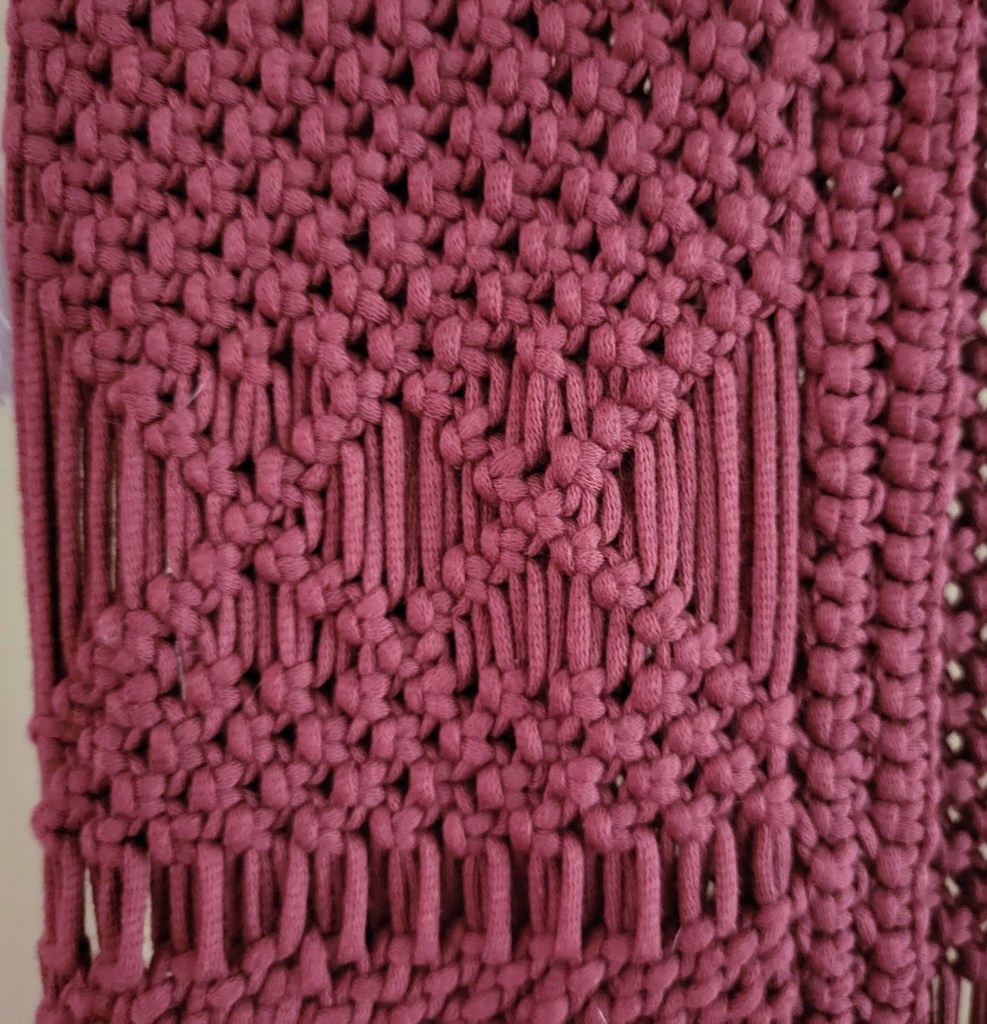
- Insert the triangle/diamond pattern after a few rows of alternating square knots. That would have created a more regular, framed structure and made the sewing easier.
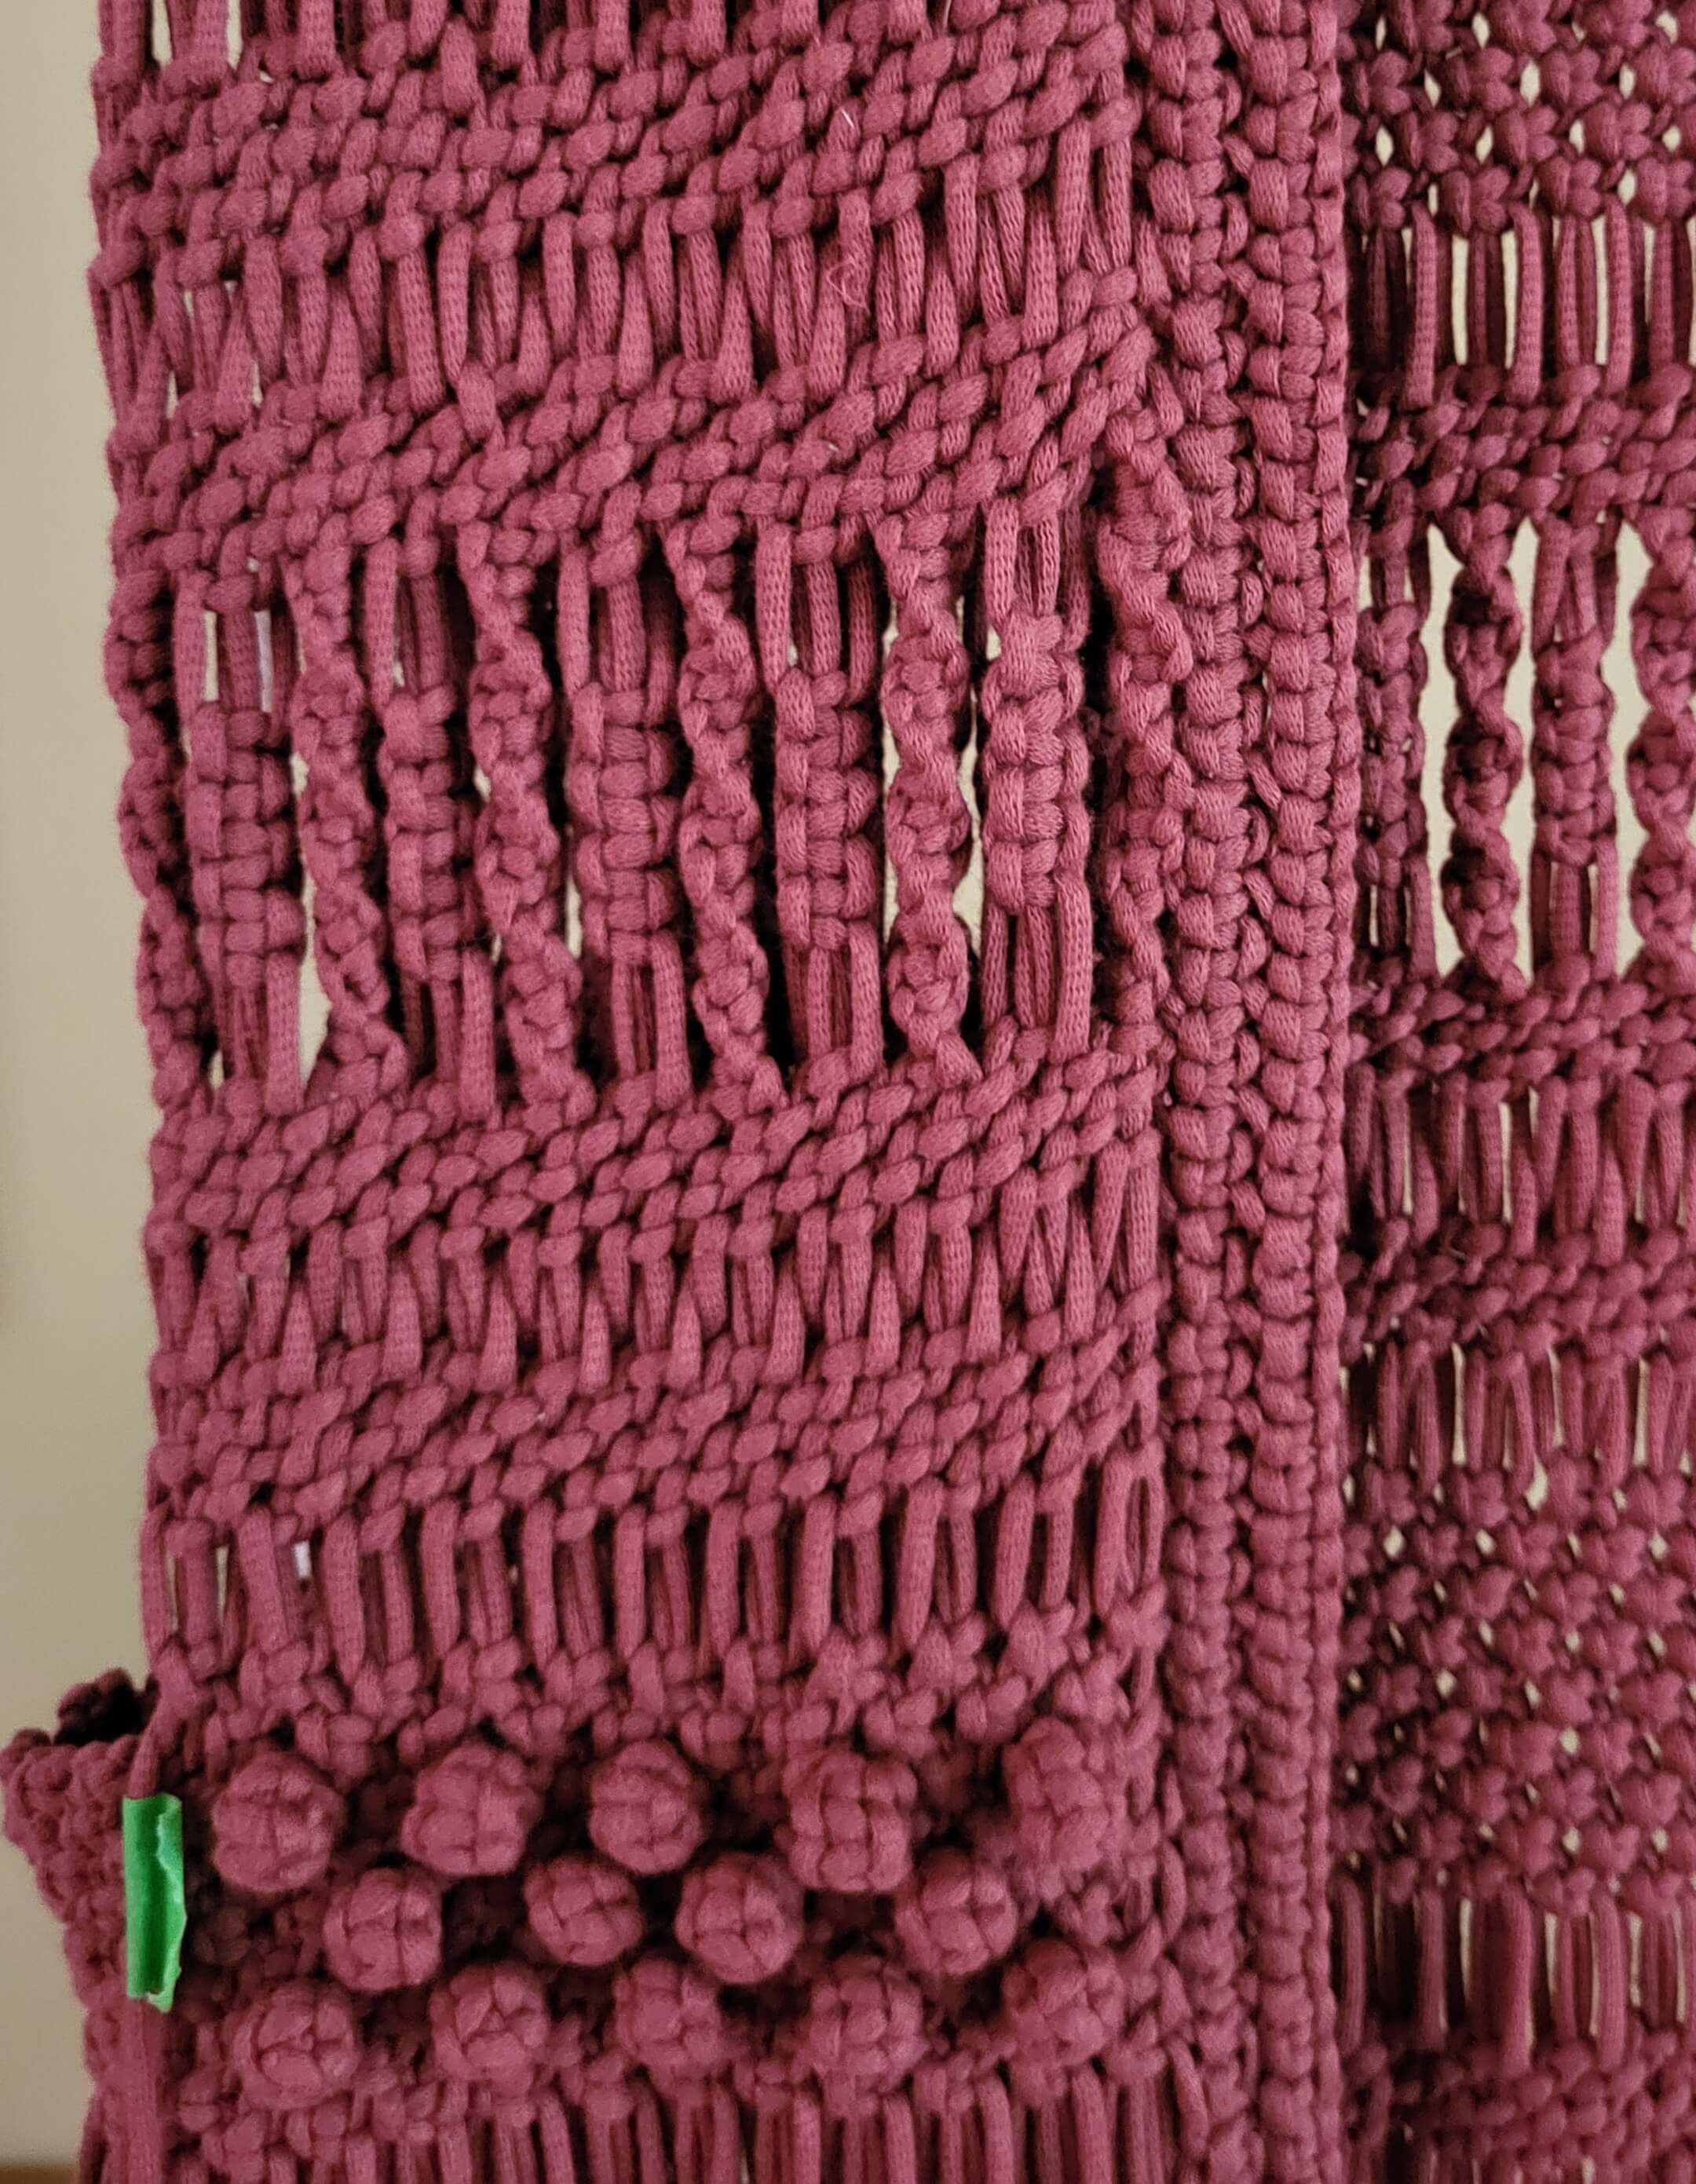
- For the vertical mix of spiral and square knots, I should have reversed the sequence—sewing through spirals is much trickier than through flat knots.
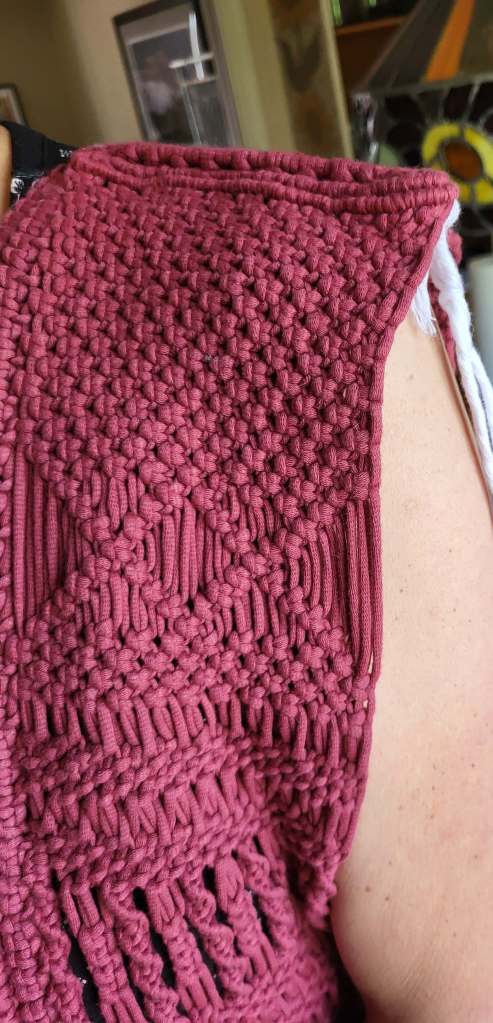
Front section with border — the edge is stabilized and well-structured, helping maintain the garment’s shape. Front section without border — raw edge tends to curl inward.
- On the sides, I had started with single square knots, thinking I’d leave them like that. But the armhole edges looked strange… so I ended up wrapping the whole thing. Again, not the easiest knots to stitch together.
Next time, I’d:
Use more cord from the start to shape the armhole edges, keeping in mind the length needed to build the sides. I’d sew the borders first, then add square knots at the right height, using all the cords to connect front and back.

Fitting and Setup
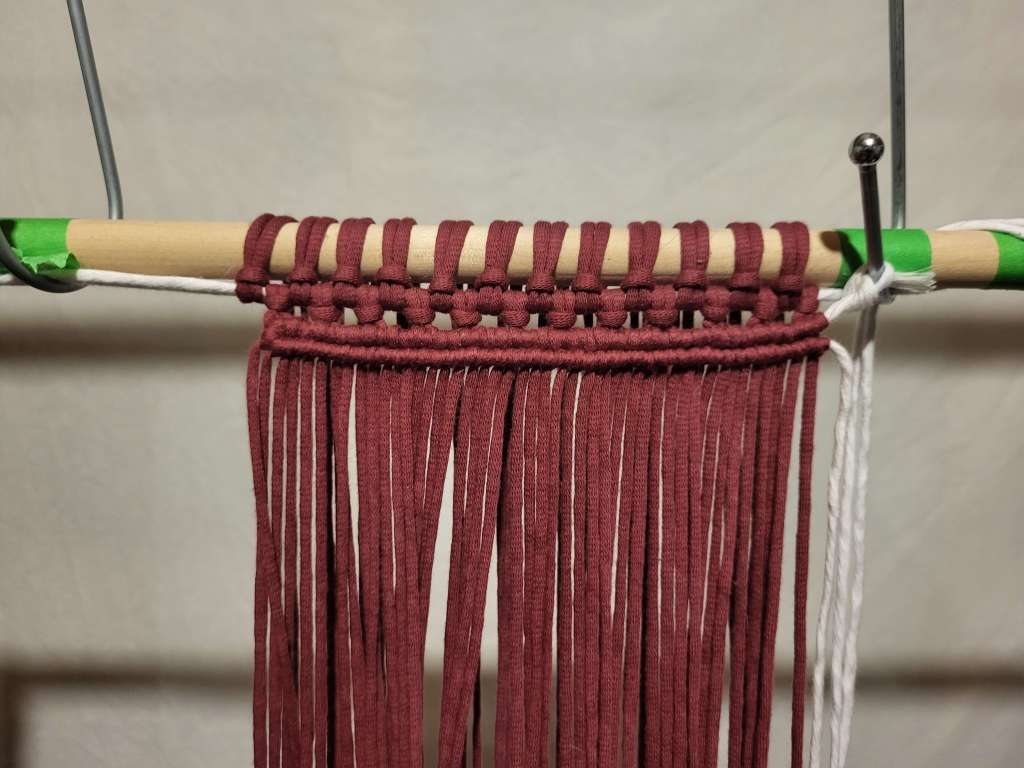
Since this is a garment, regular fittings were crucial to check proportions and fit. I don’t own a mannequin, so I fixed my piece onto a dowel. Macramé lovers know how essential it is to stabilize your work… but it’s always a hassle to take it down to try it on, then hang it back up!
Sometimes I thought it was set up properly… and then realized it wasn’t—everything was off, and the tension was wrong.
What I could have done:
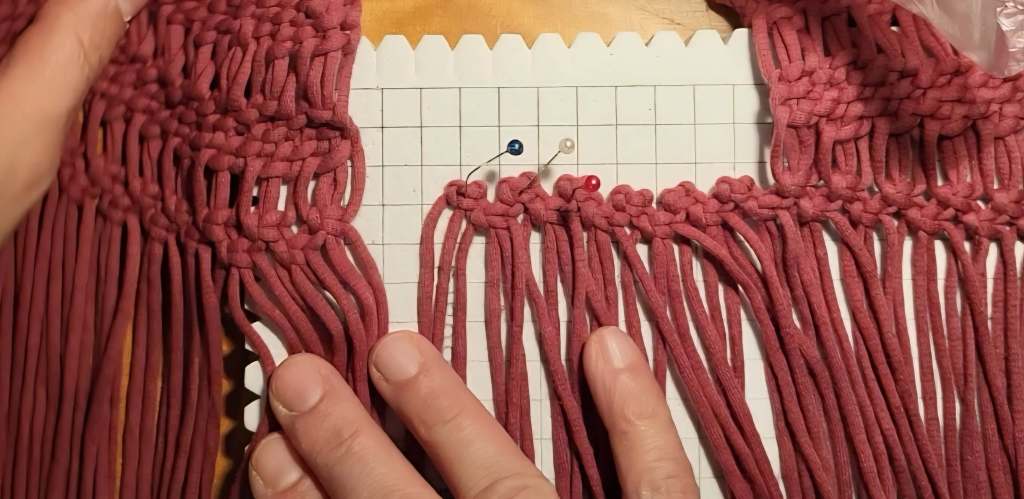
- Buy a mannequin (I will!). A garment follows the shape of the body—being able to pin it, adjust it, and observe its evolution makes a huge difference. With a mannequin, I might have added a few cords around the hips for a less boxy, more fitted look.
- Work each section flat, one at a time, and stitch them together later. That would have made the setup easier, minimized tension issues, and saved me from undoing/redonning certain parts—since every redo changes the texture of such a delicate thread.
Final Thoughts
When you start a new project with a material you’ve never used before, it’s hard to predict everything. What I didn’t do—but should have—is make a small prototype. A mini vest (even doll-sized!) would’ve helped me test the process, tweak some design details, and avoid a lot of trial and error.
That said, I’m really happy with the final result—but even more with everything I learned along the way.
One last piece of advice: take notes at every step. You are your best teacher.
Some details I’m especially proud of
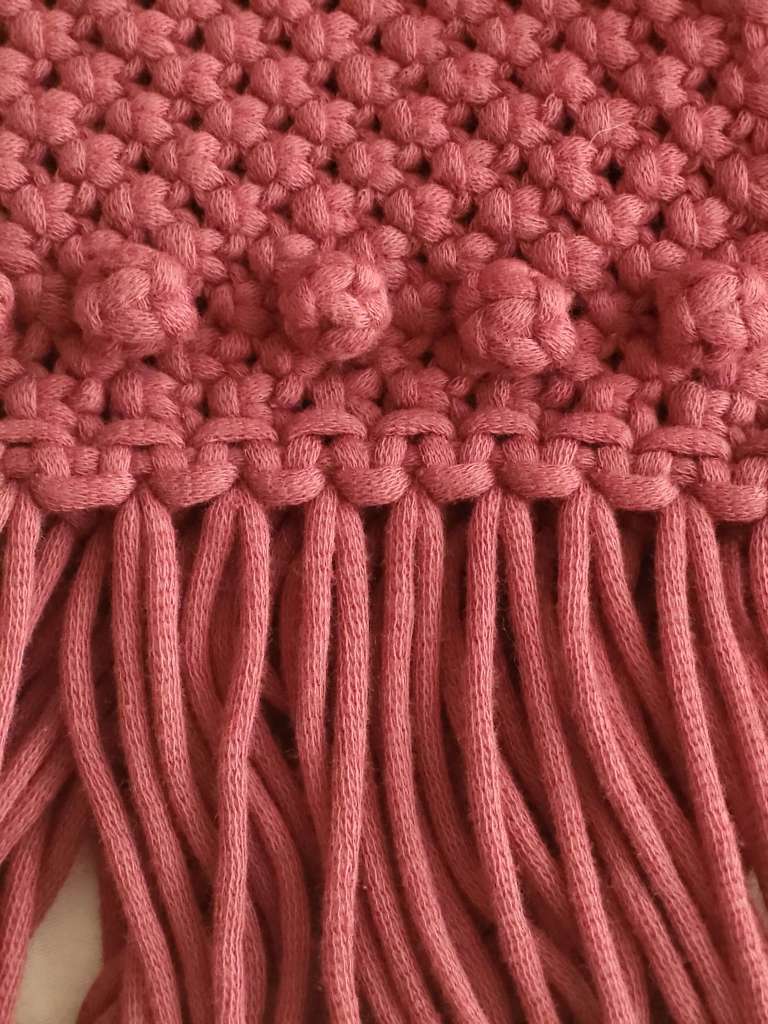
- the border at the bottom of the piece. I created a strap made of square knots and stitched it while gently stretching it. This gave it a completely different look compared to the front opening borders, which are also made of square knot straps. I was able to do this because the front sections of the vest are independent from the back panel at the bottom. Otherwise, stretching the border would have made the vest balloon out at the hem — which I wanted to avoid.
- I love the way each design flows into the next, creating a beautiful fusion.

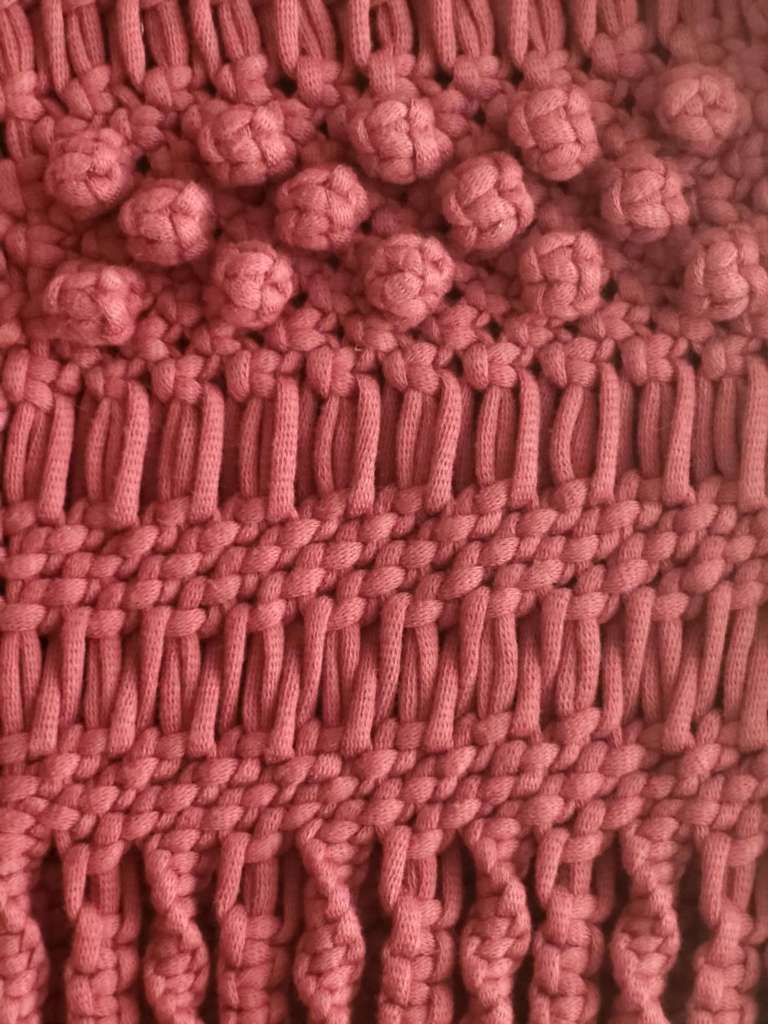
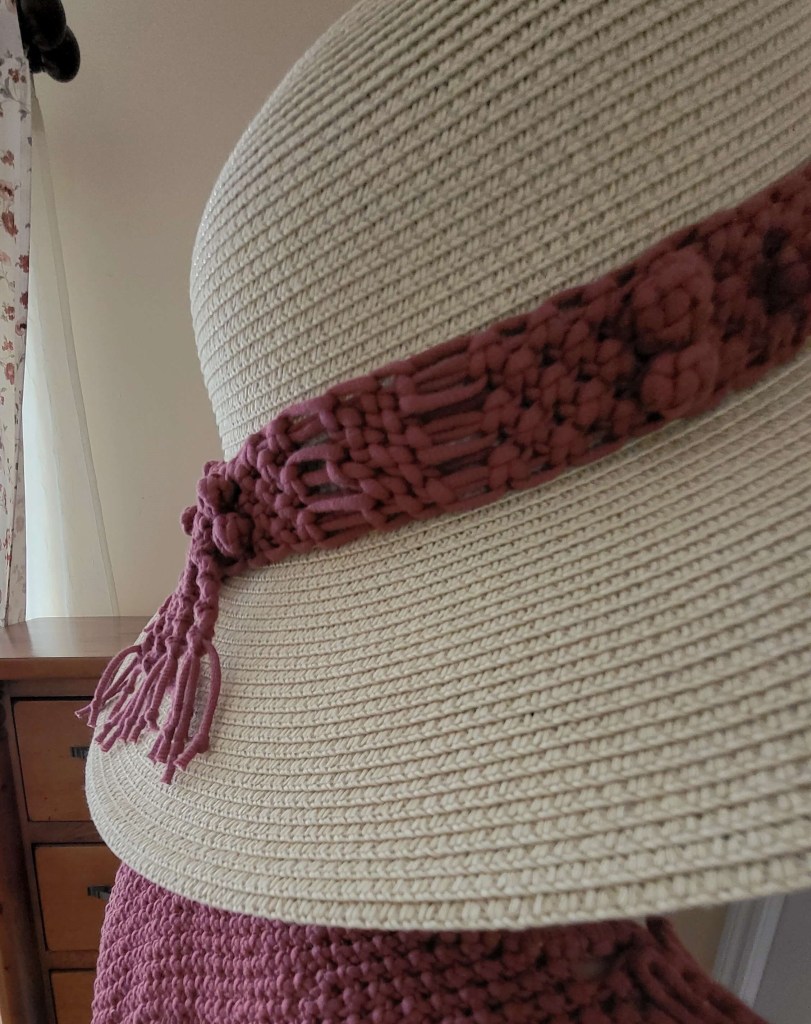
- And as the cherry on top, I adore the little hat decoration I made from leftover cord. The coral-like edge gives it such a fun summer vibe!


Personal Note
« What I share here is the result of my own journey. I explore life through books, podcasts, conversations, documentaries… and most of all, through experience. I’m not an expert in anything, but I love to test, observe, adjust, and hold on to what works for me. If my discoveries resonate with you or inspire you to try something new, I’ll be happy. »


Laisser un commentaire